

Welcome (back) to my blog series on how I start an edible permaculture garden in New Zealand. This post will focus on some of the observations I made around “my” plot in the community gardens. This is not a definitive guide on how to observe. Rather, I hope it serves as inspiration for some of the things you could observe in your own landscape.
Remember, in no way can you go wrong with observing. The only thing is to do it. Try to do it regularly and frequently. It doesn’t have to be long. Maybe you can take a few minutes every time before you start to garden? Also, try to think about making some notes of your observations. This could be a blog, a notebook, on your phone or in your head. Here’s an overview of some of the things I observed the first few times I was in my new garden in New Zealand!
Simple Analysis
You might remember from my introduction that someone at the community gardens was willing to share half of their garden in New Zealand with me! This meant I could get started way earlier than I had anticipated. I started with what you might call a simple analysis. Which is exactly what the name implies, simple.
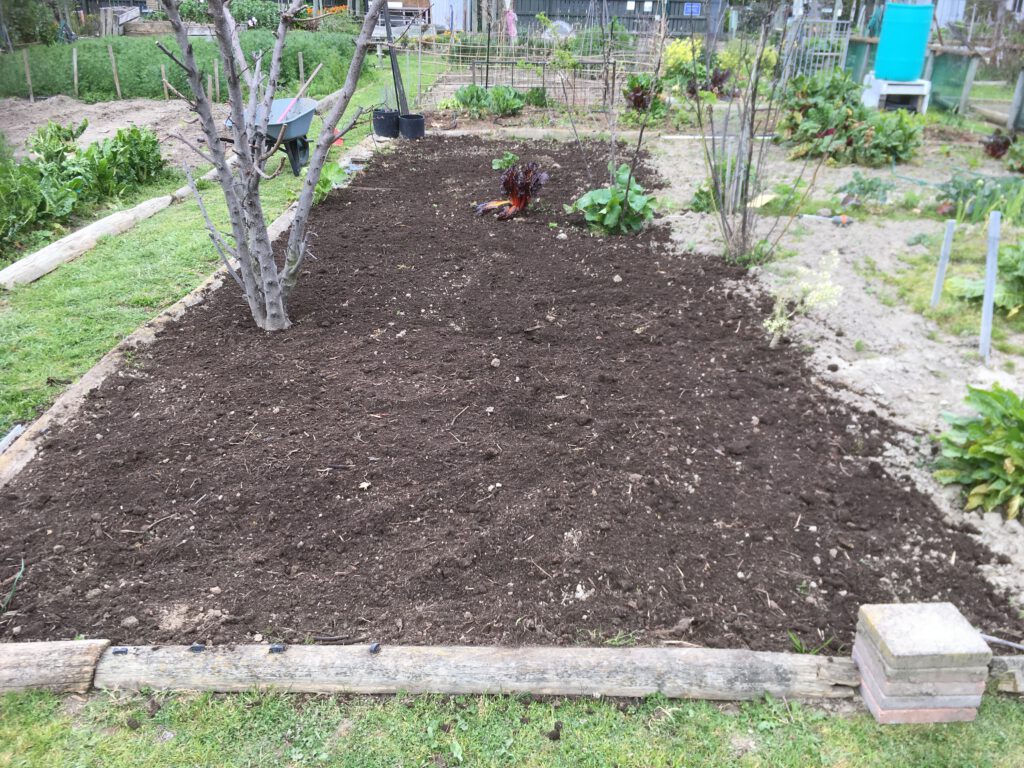
It measures about 9 by 4 meters. I measured this in steps, not a measuring tape or anything fancy. It’s relatively flat land (which is not always the case in New Zealand!). It’s pretty much north facing (which is towards the sun in the Southern Hemisphere!). This means there’s full sun throughout the day which is ideal for growing some veges.
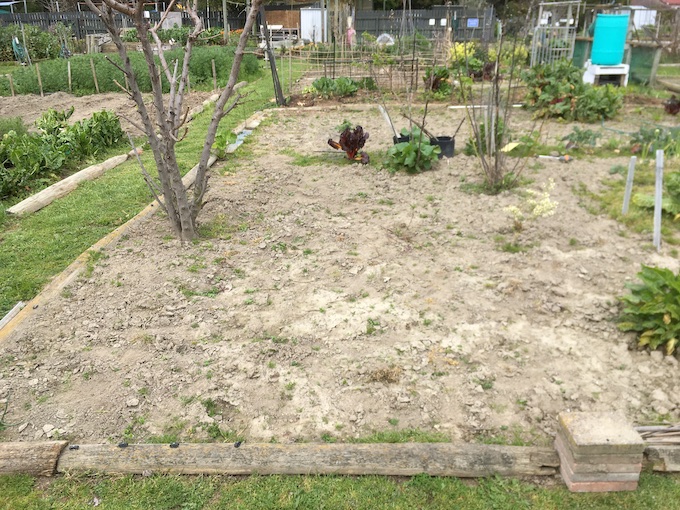
(Note: the bottom of the picture is North-facing, and the right is West-facing)
I can tell you from experience cycling back and forth to my little garden in New Zealand: it’s exposed to wind. A lot. Especially the strong north westerlies, which are common here in Spring. Although it’s behind a river bank, this offers very little protection against the winds. Sadly, there’s also very few trees and bushes nearby that can offer protection.
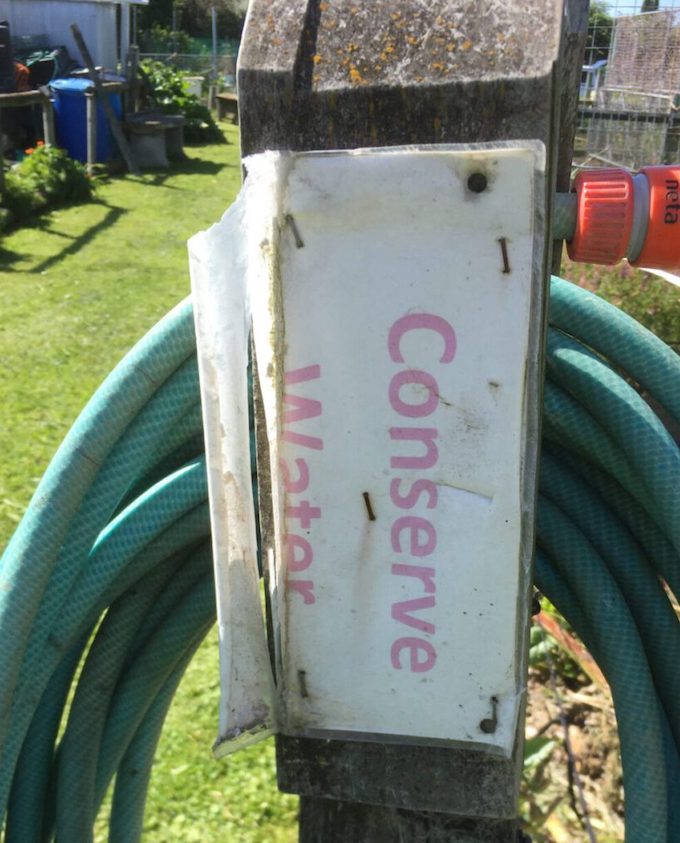
The rain predictions towards the summer are pretty low, according to statistics and experienced locals. With the possibility of no rainfall / drought for at least a few months in the summer. Although there’s taps around the garden, I would like to limit the use of these if possible.
Soil
One could go extremely in-depth (no pun intended) into this topic. Yet, I’m not a soil expert. And you don’t you have to be to get a basic understanding about this crucial aspect of gardening. I simply grabbed a hand-full and looked at it. Smelt it. Felt it. I came just short of tasting it, but feel free to give that a try at your own risk.
What I saw was bare soil with quite a few clumps here and there. It seemed quite dry on the surface, despite winter rains. Winds combined with increased sunshine easily dried out the top layer of uncovered soil. If this happens in winter, what was I to expect in a summer with barely any rain?
It seemed clay-ish. You know, the stuff potters use to make pots. That is, it stuck together when I squeezed it. Which can indicate moisture-retention and a relative richness of nutrients. I’d like to come back to soil and it’s importance (only amateur level in-depth) at a later moment. This most fundamental subject deserves it’s own blog post! For now check out this link for more inspiration.
Plants
I’ve arrived at the point where the only plants to leave the garden, are the ones that will be eaten. The rest will act as support plants. Besides this they will either be composted underneath a deep layer of mulch (see further down), or cut and laid on the pathways.
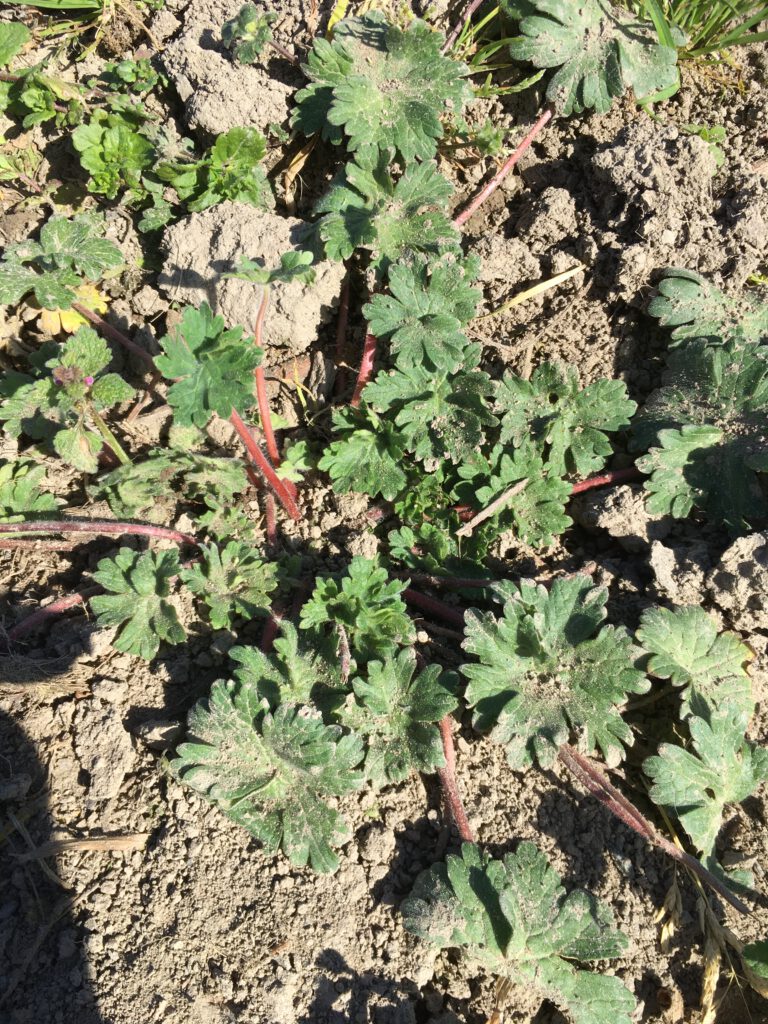
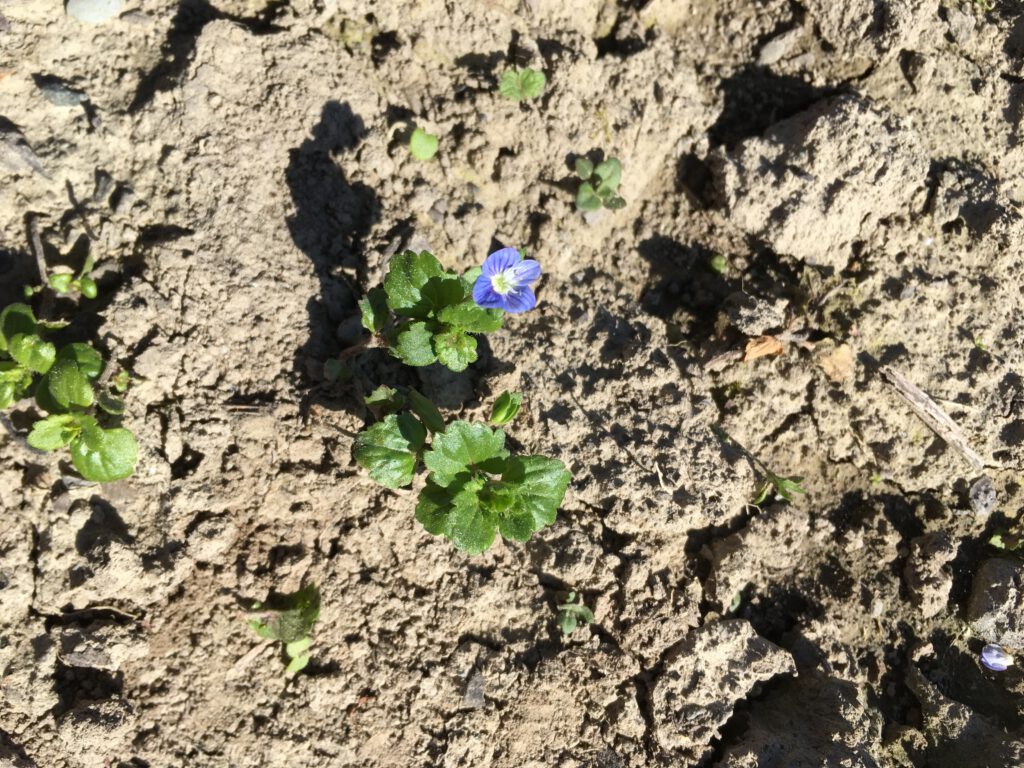
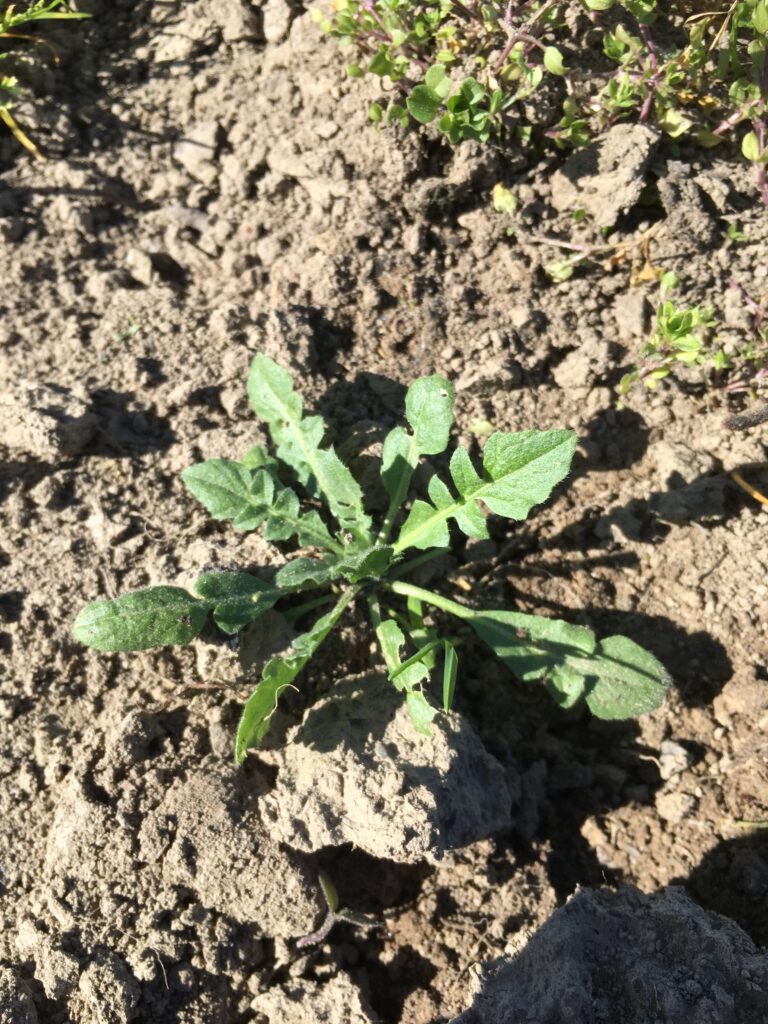
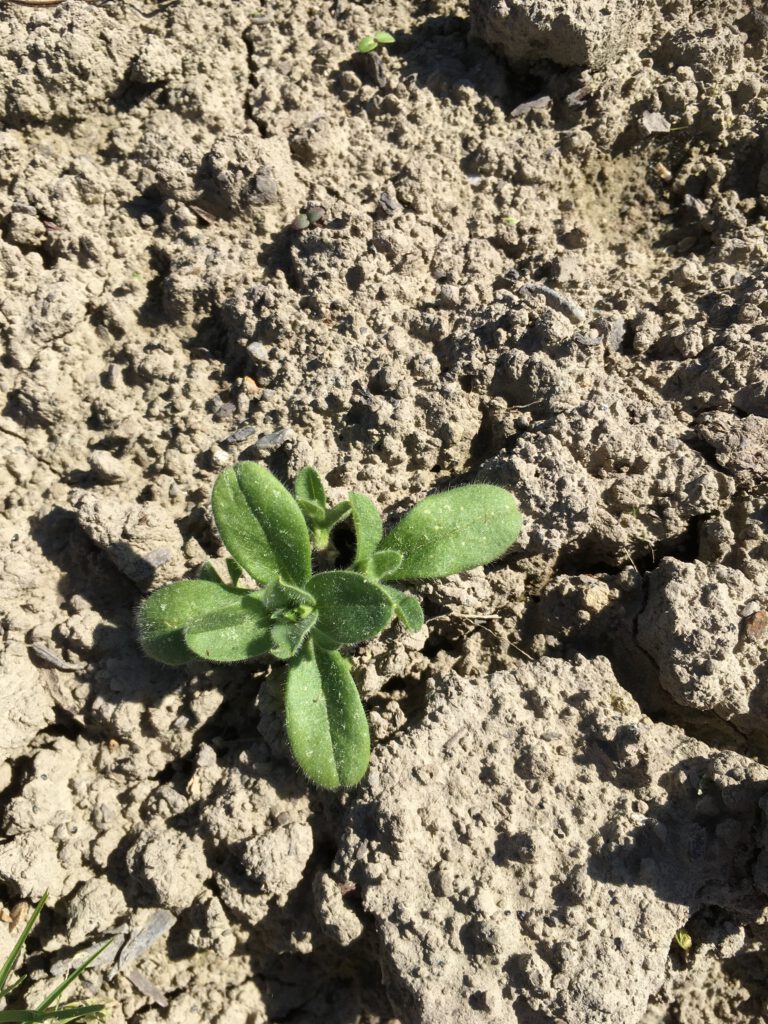
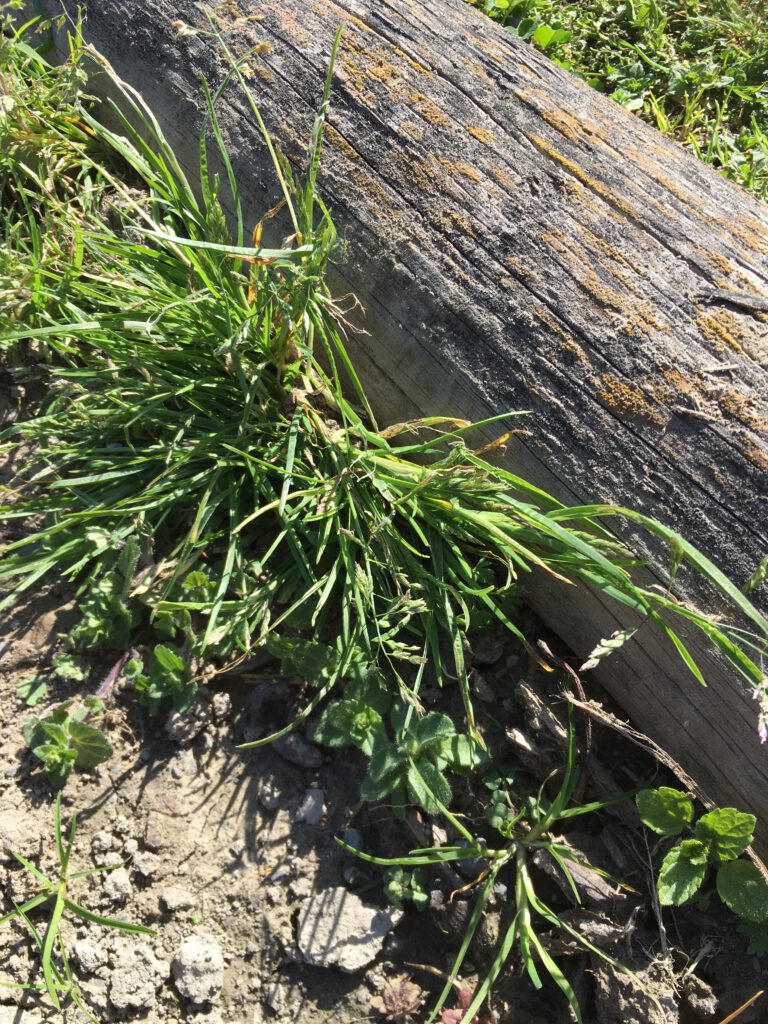
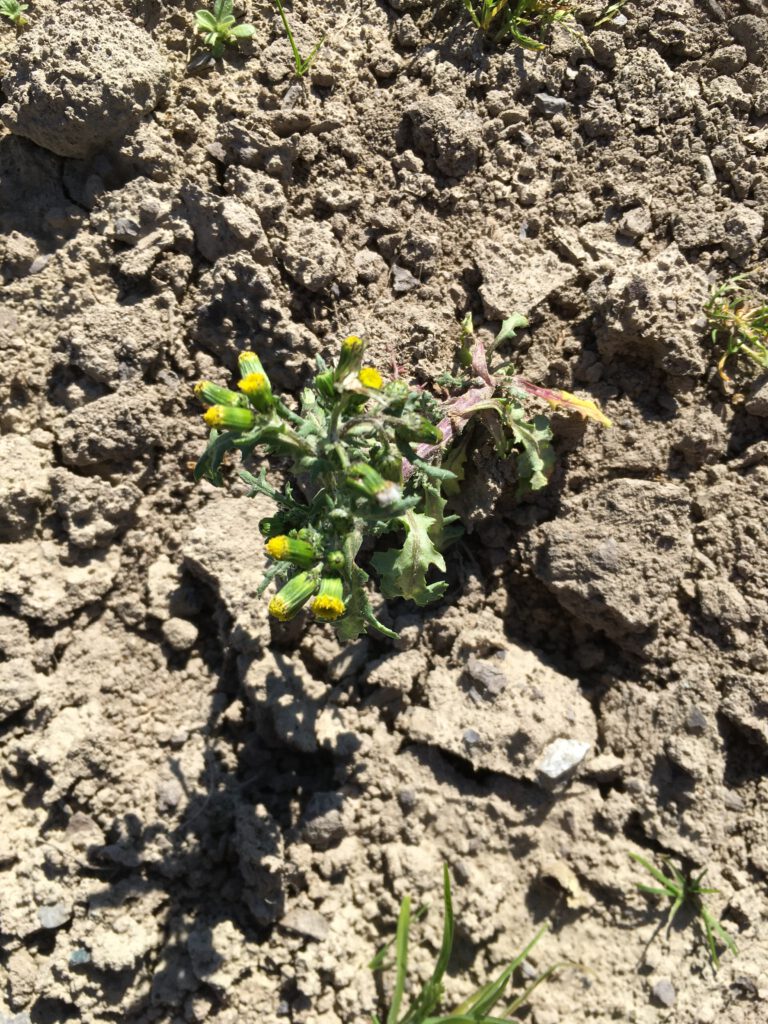
I tried to identify most plants that were already there before I started. I spent some time looking them up and learning about them. As with the soil, this turned out to be quite a lengthy process and long paragraph that I moved them into their own blog post (not yet online)!
Social
As the name implies, it is a community garden. And with community comes complexity. There’s shared spaces, compost, tools. Many different styles and opinions, the odd disagreement. Shared responsibilities, like maintaining the lawns.
Even when you have a garden in your backyard. Or a plot of land far out and rural. Or only a balcony. There’s a social aspect to all of these, although this might not directly seem the case. It’s likely you’ll be confronted with other people (and their opinions!) sooner or later in your gardening adventures.
I’ve learnt that it’s best is to involve people as soon as possible with your plans and ideas. Explain what you’re doing and why you think it’s necessary. Ideally this will get them on board, or at least aware of your plans. This way you can minimise surprises, disagreements or problems down the line.
Sharing is caring
Don’t forget that community also offers many benefits. If everyone’s on the same page, sharing can be one of the most rewarding parts of working together. Sharing harvest, seeds, books, tools, knowledge, costs. The list is endless! Synergies can evolve that way surpass anything you can get done by yourself. I already mentioned the beautiful compost I was able to use.
The first day I was in the gardens walking around and observing, one of my gardening-neighbours was around and we had a chat. He had some beautiful broad beans with purple flowers, which I asked him about. Within no time he offered some of his seeds for me to use! I then let this chance encounter and gift inform my garden design. Using the broad beans to define one edge of the paths for the the garden!
History
This one might require a bit more of active participation rather than observation! Talking to people and asking questions. Showing up to the shared working moments and listening to the stories shared during tea time. I’ve learnt the community leases the land from the local university, and has been doing so for the last 12 years. This means the land-use could change in the future. For now though, we’re able to garden there without a time-limit.
Unfortunately, I haven’t had the chance to talk to the gardener who I share the plot with. What did he do with the land? How did he garden? Which plants did he grow? Many questions remain unanswered. Since it’s a shared space there will be shared histories with may different perspectives. Only time will tell the secrets of the past…
Other observations and a bit of action
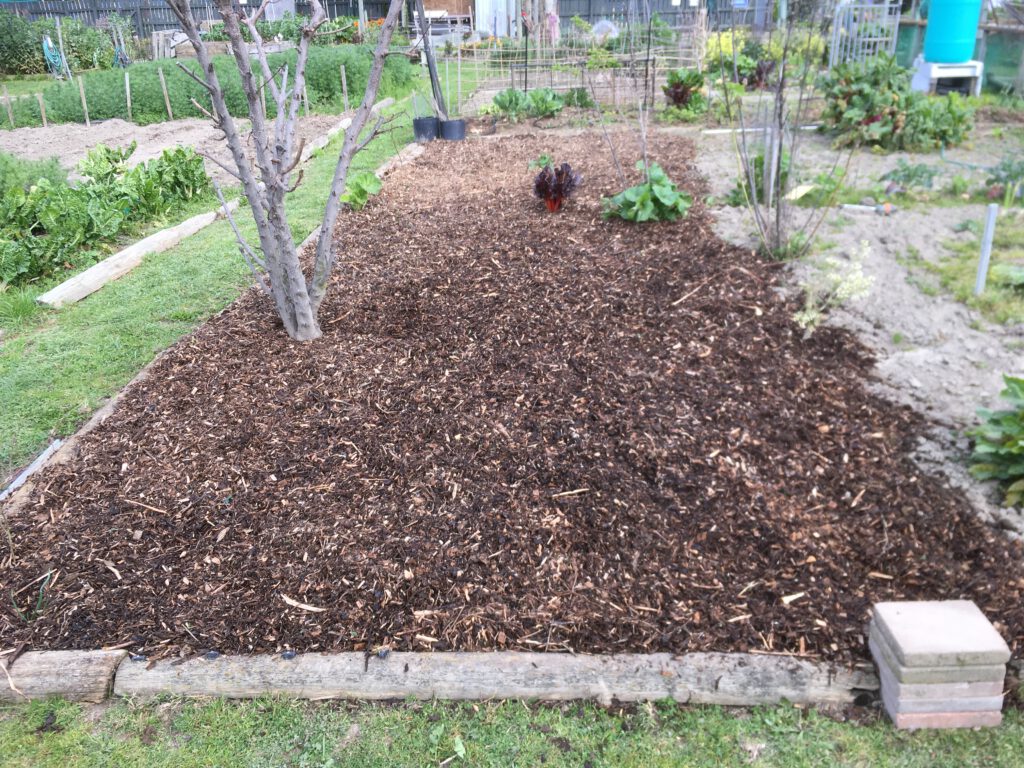
If there’s one thing I’ve learnt about soil is that it needs/wants to be covered! There’s very few places on this Earth where, without human intervention, you will find bare soil. So besides observing, the only thing I did was cover the soil in two steps. When I came back a week later I could already observe a difference between the moisture levels in “my” soil compared to those of plots with bare soil. This should help conserve moisture in the hot and dry summer months.
First, I covered the plot in a thin layer of compost. I was fortunate that there were shared compost heaps. Which, at the end of winter, we’re pretty ripe and done. After that I mulched. Again, I was lucky the there was a huge mound of woodchips right outside the gates of the community garden. Everything I could have wished for was already there!
But what if you don’t have access to these beautiful resources right from the start? Even if you only have enough compost to cover a part, or to a depth of 1mm, do it! As long as it’s healthy, living compost it will add soil life biodiversity.
Remember, the bags of compost you buy are often sterilised at high temperatures before being sold. One trick you can apply is to open and dump the bags under a tree and let it sit for a bit. It will then be in contact (and exchange) with living soil before you move it into your garden.
Mulch!
If you there’s no way you can get a living compost, don’t worry! Adding a layer of mulch, actually acts a as a slow-release compost. Worms, fungi and all kinds of other soil animals will slowly eat away at your mulch (and each other!) to turn it into soil. All the while keeping the soil moist and suppressing weeds.
In my case there were woodchips. Yet there’s plenty of other options. Cardboard boxes from the supermarket. Newspapers and other paper waste. Leaves that have fallen from the trees in autumn. Lawn-clippings. Pretty much anything that can cover your soil and will be broken down naturally (avoid plastic!)
The never-ending story
Above observations are only a few of the many I made during my first few visits. The list keeps growing every time I go to the gardens! I can’t stress enough that the most important part is do just do it. Try and continue throughout the seasons. It’s a good excuse to get out in winter, when “nothing is growing”. The more you do it, the more it will become a habit and the easier it will become.
With some of the observations done and the soil covered, I was ready to start sowing and growing! But where do you get seeds? In the next post I’ll share some ideas about where to source seeds for your garden in New Zealand.